
Debian Fresh Install
Downloaded debian-live-11.7.0-amd64-kde.iso and burn it to a USB drive.
Plugged in the USB and booted from a Graphical Install
Let the installer format ext4install Debian with KDE and grub
Booted the OS and logged in with the created user during initial install.
New User with admin rights
Install sudo:
apt install sudo
Create a normal user with:
adduser <newusername>
Then make sure that username is part of Sudoers
usermod -a -G sudo <username>
note - if that doesnt work, PATH isnt set
/usr/sbin/usermod -a -G sudo <username>
finally, make sure to add username to the sudoers file
nano /etc/sudoers or visudo
At the end of the file, add your username
john ALL=(ALL:ALL) ALL
note - you have to log out for changes to take effect.
SSH
First thing is to get SSH running and get into the shell.
Step 1 is to install:
apt install openssh-server
Step 2 verify it is working:
systemctl status ssh
Step 3 is to automate. Ensure it is an enabled service and starts at boot:
systemctl enable ssh
If found could not SSH to localhost, ran apt-cache ssh and it wouldnt work. Had to invoke SU as user is not in sudoers
apt install openssh-server
Run to another pc, and test it, log into the server with ssh user@ip
Backup SSH config
It’s always best to have a copy of a working config, in this case your SSH config:
sudo cp /etc/ssh/sshd_config /etc/ssh/sshd_config_BACKUP
Secure authorized keys
1
2
3
4
5
6
mkdir /home/${newUser}/.ssh
chmod 700 /home/${newUser}/.ssh
touch /home/${newUser}/.ssh/authorized_keys
chown ${newUser}:${newUser} /home/${newUser}/.ssh -R
chmod 600 /home/${newUser}/.ssh/authorized_keys
service sshd restart
No accounts with empty passwords
1
2
3
4
5
grep -qi ^PermitEmptyPasswords /etc/ssh/sshd_config && \
  sed -i "s/PermitEmptyPasswords.*/PermitEmptyPasswords no/gI" /etc/ssh/sshd_config
if ! [ $? -eq 0 ]; then
    echo "PermitEmptyPasswords no" >> /etc/ssh/sshd_config
fi
:Warning: Extreme SSH Restrictions :Warning:
Restrict Root Login
Do this only if you have a user you can login with.
sudo sed -i "/#PermitRootLogin yes/a PermitRootLogin no" /etc/ssh/sshd_config
Disable authentication by password and enable authentication by ssh key
sudo sed -i "/#RSAAuthentication yes/a RSAAuthentication yes" /etc/ssh/sshd_config
sudo sed -i "/#PubkeyAuthentication yes/a PubkeyAuthentication yes" /etc/ssh/sshd_config
sudo sed -i "s/PasswordAuthentication yes/PasswordAuthentication no/" /etc/ssh/sshd_config
Reject everything not coming from your IP
Once connected, edit the iptables to reject anything on port 22 that is not from the IP you specify.
The bang or ! indicates an opposite.
iptables -A INPUT ! -s 73.243.126.226/32 -p tcp -m tcp --dport 22 -m comment --comment "Any traffic not from Comcast @ My_Personal_House's IP is dropped" -j DROP
Restart to See Effects
sudo service sshd restart
Upgrade with Apt
apt install software-properties-common is needed to run apt-add-repository
apt install aptitude
apt install apt-transport-https
BIG NOTE
apt install ifupdown2
When updating ifupdown2 make sure there is a reboot script going already, as you will loose internet access to your shell and have a machine dead in the water at the remote location.
Repository Lists
Updating the repository SourcesList
First, you must add the Proxmox VE repository key:
wget http://download.proxmox.com/debian/proxmox-ve-release-6.x.gpg -O /etc/apt/trusted.gpg.d/proxmox-ve-release-6.x.gpg
wget https://enterprise.proxmox.com/debian/proxmox-release-bullseye.gpg -O /etc/apt/trusted.gpg.d/proxmox-release-bullseye.gpg
Configure the repository
Open and edit /etc/apt/sources.list
1
2
3
4
5
deb [arch=amd64] http://download.proxmox.com/debian/pve bullseye pve-no-subscription
deb http://ftp.us.debian.org/debian bullseye main contrib
deb http://ftp.us.debian.org/debian bullseye-updates main contrib
deb http://security.debian.org bullseye-security main contrib
deb http://download.proxmox.com/debian/pbs bullseye pbs-no-subscription
Finish and Updateapt update && apt full-upgrade
Networking setup inside of Debian/Proxmox host
List the attached network devices
ls /sys/class/net
Network Interfaces
/etc/network/interfaces network configuration for ifup and ifdown commands
EXAMPLE:
1
2
3
4
5
6
7
8
9
10
source /etc/network/interfaces.d/*

auto lo
iface lo inet loopback

auto enp1s0
iface enp1s0 inet static
        address 172.21.1.231/24
        gateway 172.21.1.254
        dns-nameservers 172.21.1.254
Debian Man Page for Ifup and Ifdown
!!!!!!!!! IMPORTANT !!!!!!!!!
Update the hostname of the computer
Edit, nano /etc/hostname
Change the single line here to whatever you’d like your hostname to be.
Save and close the file. Set and verify with the following command:
hostname <hostnameentered>
hostname
Update the hostname a different way
hostnamectl set-hostname '<hostnameentered>'
Verify with: hostnamectl
Add an /etc/hosts entry for your IP address
Please make sure that your machines hostname is resolvable via /etc/hosts, i.e. you need an entry in /etc/hosts which assigns an IPv4 address to its hostname. Example:
1
2
127.0.0.1       localhost.localdomain localhost
192.168.15.77   prox4m1.proxmox.com prox4m1
You can test if your setup is ok using the hostname command:
hostname --ip-address
Disable IPv6
If IPv6 is blocked on your router, you’ll have trouble finding updates, etc. So disable it.
sudo nano /etc/sysctl.conf
Add the following at the bottom of the file:
1
2
3
4
net.ipv6.conf.all.disable_ipv6 = 1
net.ipv6.conf.default.disable_ipv6 = 1
net.ipv6.conf.lo.disable_ipv6 = 1
net.ipv6.conf.tun0.disable_ipv6 = 1
- To re-enable IPv6, remove the above lines from /etc/sysctl.conf and reboot your device.
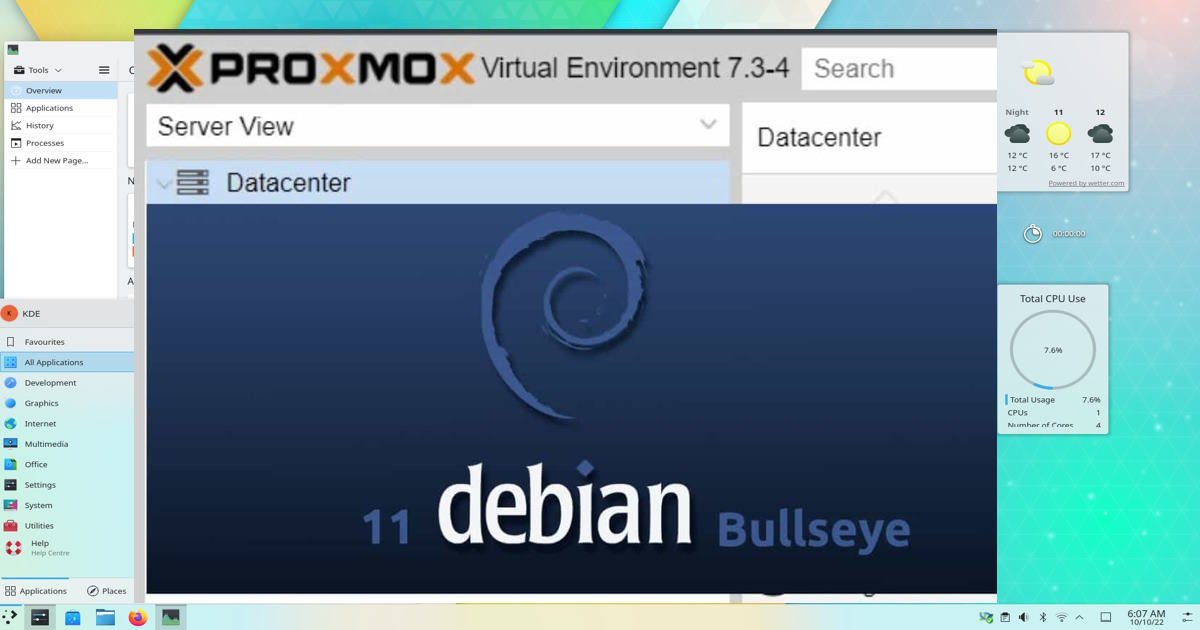
Install Proxmox
apt install proxmox-ve postfix open-iscsi
If you don’t know what to enter here, choose local only and leave the system name as is.
Finally, reboot your system, the new Proxmox VE kernel should be automatically selected in the GRUB menu.
Unattended Upgrades
This is optional but it can be helpful:
cat /var/log/unattended-upgrades
Enable or Disable Unattended Upgrades:
dpkg-reconfigure unattended-upgrades
REBOOT
Great idea to reboot right about now.